
Despite being one of the oldest products available, the leather shoe is a surprisingly complicated process. Following all of these steps while staying true to our Fair Trade principles made things even more complex, so we wanted to show you just how it’s done!
Here’s a quick video overview of the entire process, check out each step in more detail below!
- Design
We start on the drawing board by taking inspiration from Ethiopia’s rich history of creating leather footwear and combining that with style elements from some of the most iconic shoe styles of all time.
- Creating the Sole
At this stage, we take our rubber base sourced from across the African continent and process it into one of our numerous sole-styles, including our famous Ethiopian Map Sole.
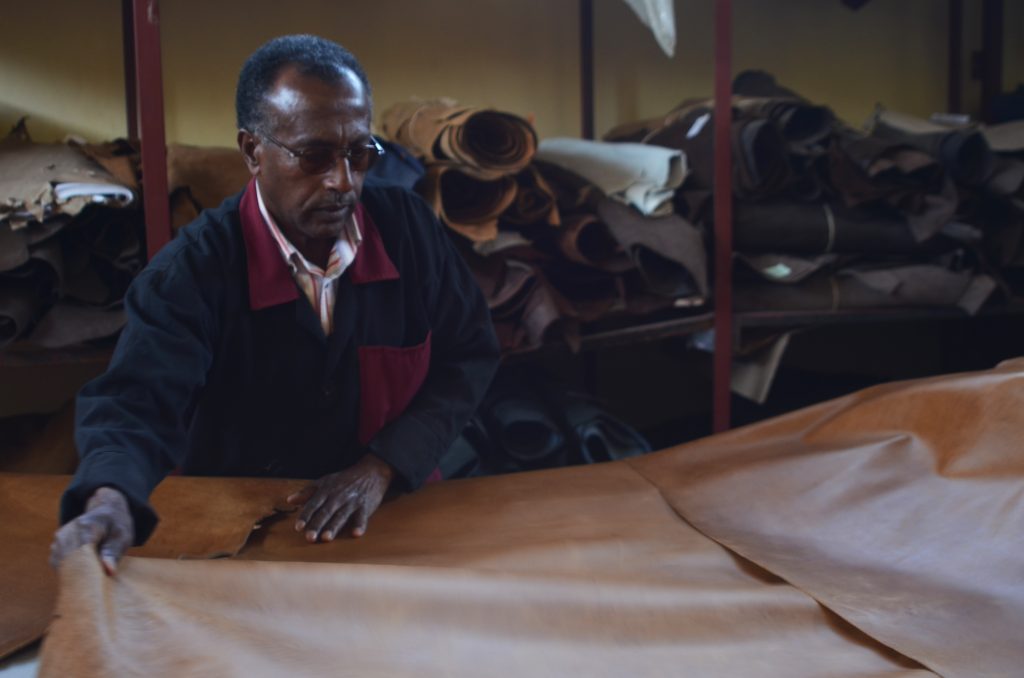
- Selecting the Proper Leather
We source as much leather as possible from the Hafde Leather Tannery, which is one of the most environmentally friendly tanneries on Earth.
- Leather is Cut
After selection, each hide is cut to minimize leather waste and form the building blocks of our shoes.
- Leather is Marked
Each individual piece of leather is marked to designate where the stitching and hole-punching will be done by hand.
- Leather Edges are Flattened
The leather is flattened on its edges at this stage to give a polished finish.
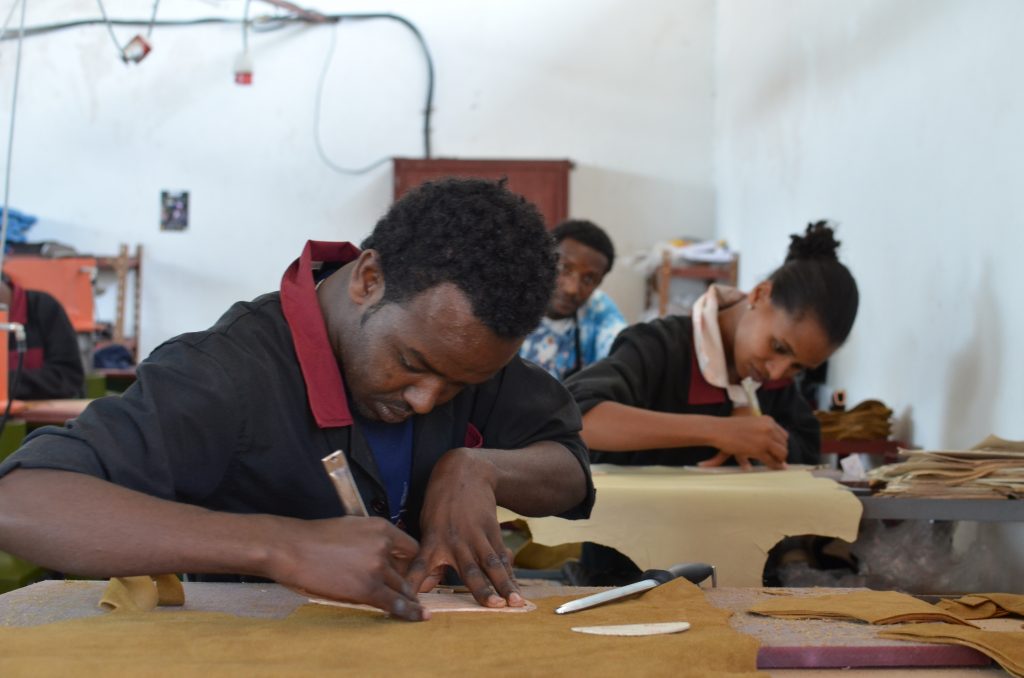
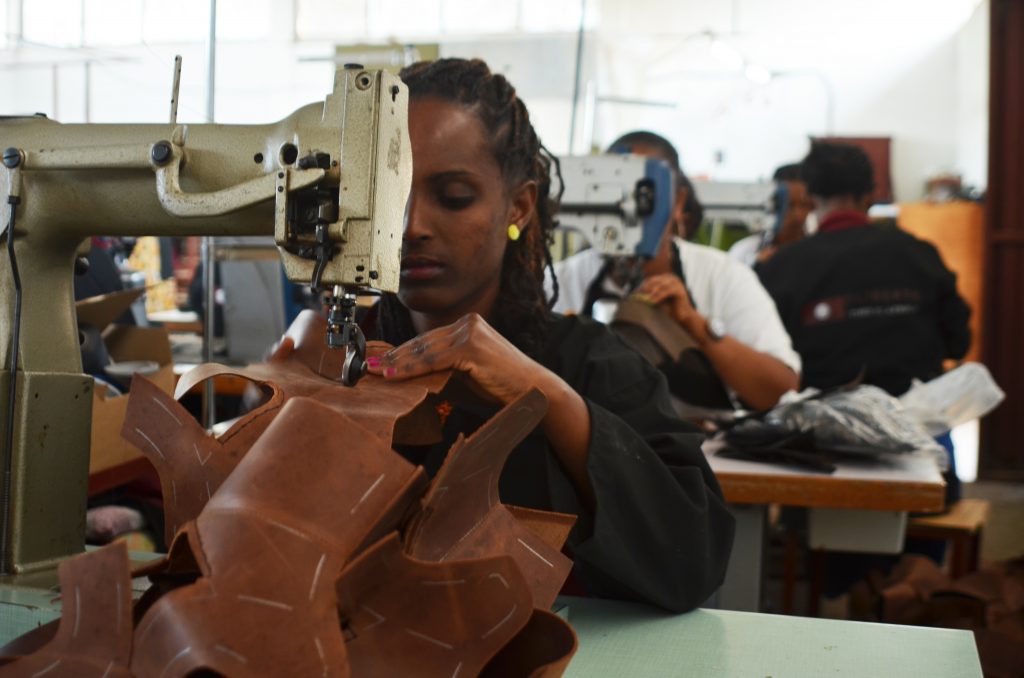
- Hand stitching
The first stages of construction are completed by making each major stitch by a skilled hand.
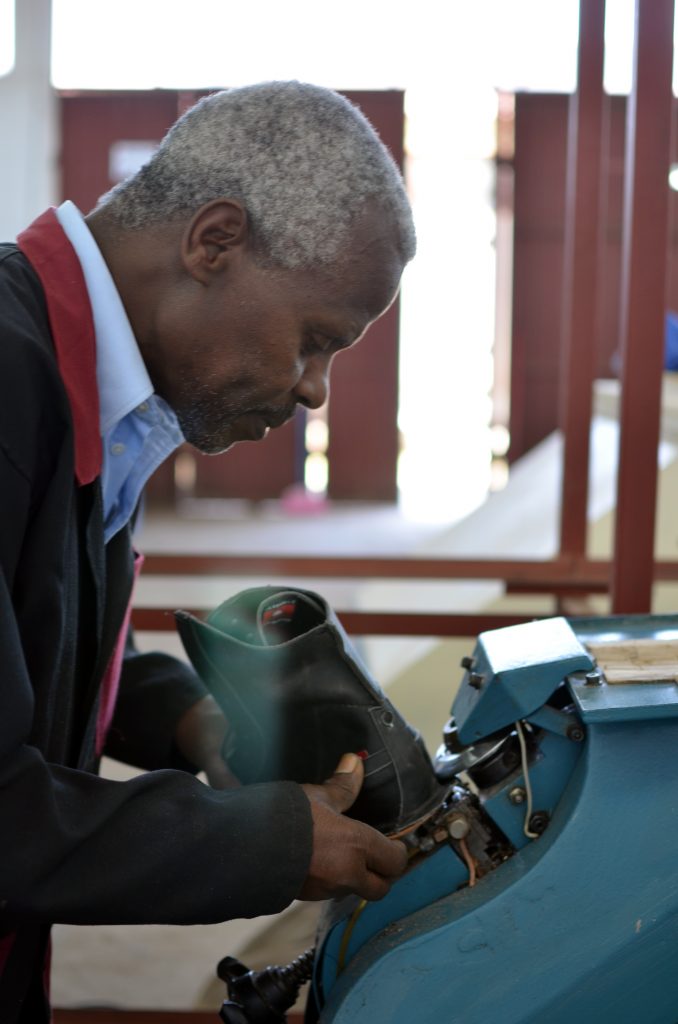
- Hole Punching
At this stage, each lace hole is hand-punched to ensure quality control and proper alignment.
- Machine Stitching
For the structural stitches, sewing machines are used to speed up a tedious process.
- Glue Applied
The first applications of glue are made at this stage, to ensure a seamless bonding of each leather piece in conjunction with the stitching.
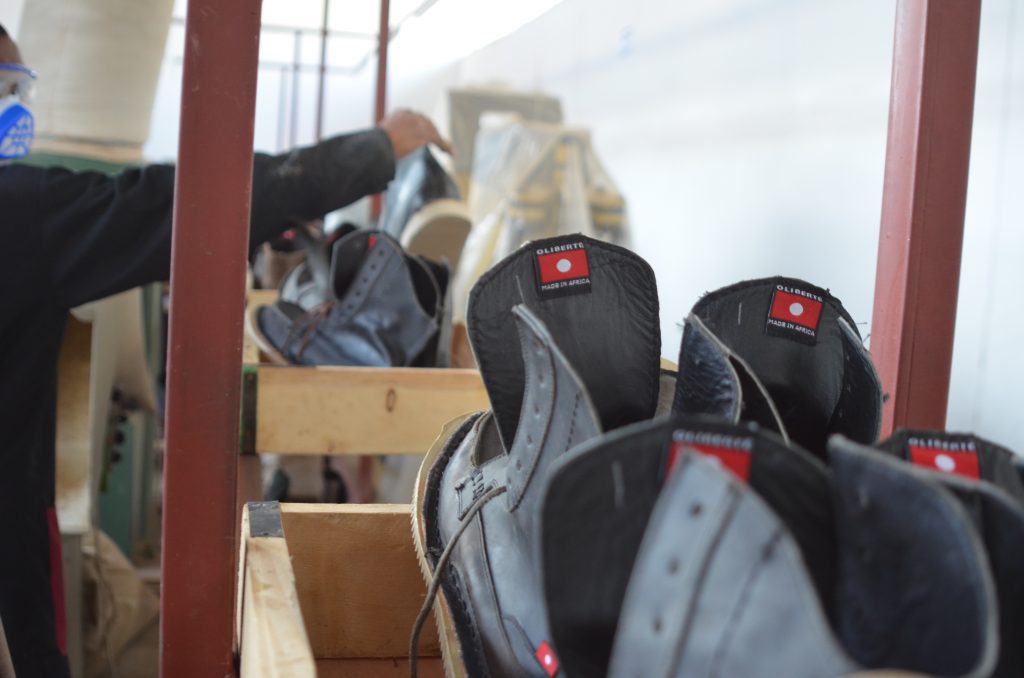
- Label Sewn in
Once the shoe starts taking form, we get really excited and stitch in our label to show how proud we are of even a half – completed shoe.
- More Hole Punching
The final holes are punched in at this stage to complete the lace section, depending on the model of shoe.
- More Hand Stitching
More fine-tuned stitching is done now to create a more visually stunning final product.
- Glue is Applied
These new stitched sections get another generous application of glue to ensure a tight and long-lasting bond.
- More Machine Stitching
The final round of machine stitching is completed as the shoe approaches its final form.
- Shoe is Fitted to “Last”
At this point, the shoe’s leather upper is attached to one of our “lasts”, which help the shoe take its unique shape, and ensures that each shoe will properly fit according to its size.
- Mid-Sole is Cut
We now cut out the shoe’s mid-sole, which will give each shoe its comfort and shock absorption.
- Mid-Sole is Textured
The mid-sole is now sanded slightly to provide a textured surface which helps it bind with the upper and the main sole with glue, bringing the two main parts of a shoe together as one.
- Mid-Sole is Glued
We use a generous amount of glue here to ensure the shoe comes together properly to form a long-lasting product.
- Mid-Sole is Attached to Shoe
Each piece of the puzzle is now clamped together and left to cure to ensure a reliable fit.
- Edges are Trimmed
The excess leather is now trimmed off the outside of the shoe for a cleaner look and feel.
- Glue is Dried
The first round of glue is now oven-dried for a faster set.
- More Glue Applied to Mid-Sole
The bottom half of the mid-sole is now covered in glue to accept the sole.
- Glue Applied to Sole
The sole is covered in glue as well to ensure the best bond possible.
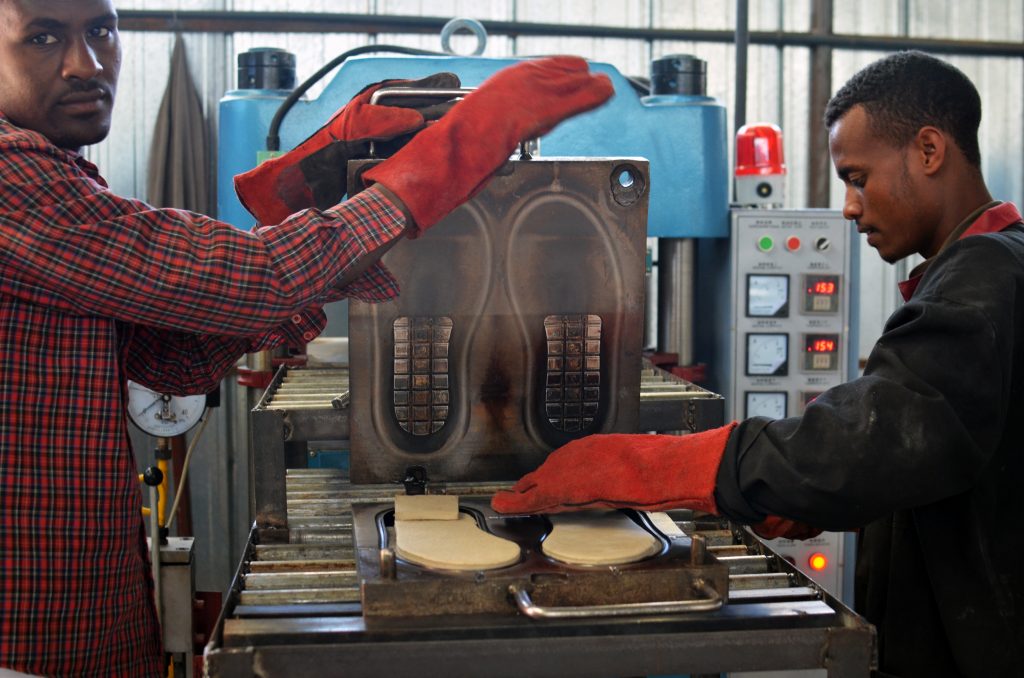
- Sole Applied to Shoe
The two parts are finally pressed together using a hydraulic vice, to ensure a tight uniform seal.
- Nails Removed from Last
The nails securing the shoe to its last are removed at this stage.
- Sole is Trimmed
The sole is trimmed to make a perfect match with the leather upper.
- Edges of Sole Sanded
We sand the outside of the sole now for the perfect texture and consistency to make a polished product.
- Last is Removed
The last is finally removed, leaving the shoe the perfect size and shape.
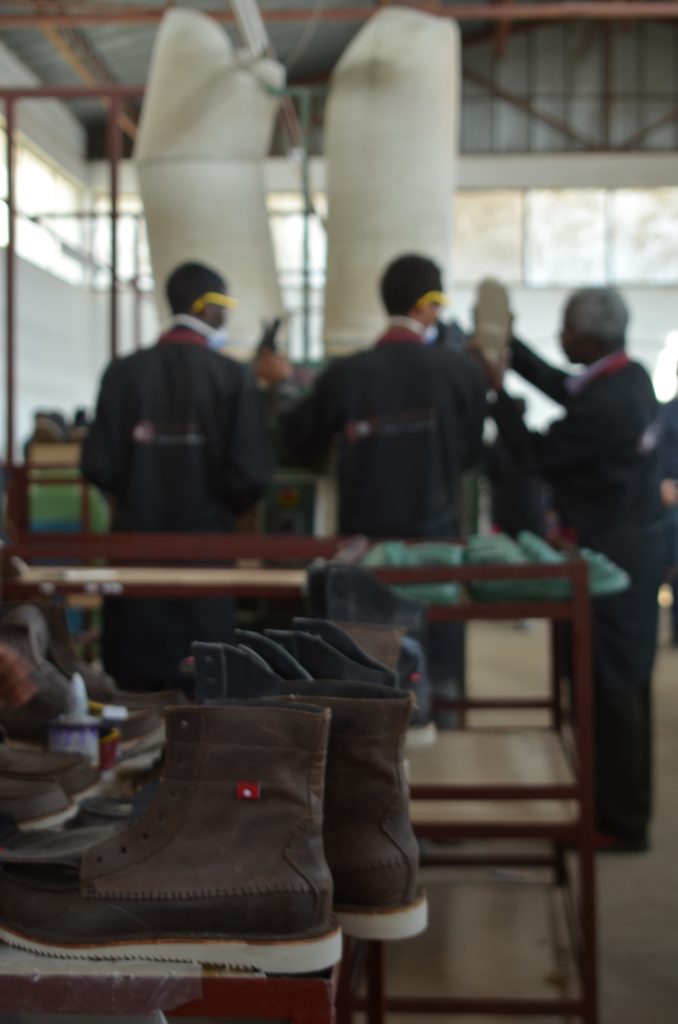
- Shoe is Detailed and Buffed
We make all our finishing touches to the leather for the best aesthetic appearance.
- Insole is Inserted
Our signature Map of Ethiopia insole is inserted for comfort and branding.
- Laces Tied
The laces are tied, and our shoe is complete!
